


In this article
You'll learn how to:
- use Inboxes to receive files in DISCO
- share an Inbox URL with other people
- receive files from DISCO users and non-users
- import useful content from your Inbox into your DISCO
- understand the difference between Team Inboxes and Personal Inboxes
- manage visibility and removal settings
Understand how Inboxes work
Each Inbox has its own URL that you can share with anyone. That URL acts as a receiving point - someone opens it, sends files to you, and the content appears in your DISCO Inbox. If they already use DISCO, they can send you an existing playlist instead of uploading files again.
This removes many of the old pain points of music industry file exchange and makes incoming content immediately easier to work with.
If you need a more structured submission workflow tied to a written request, a close date, and targeted outreach to specific contacts, use Briefs instead.
Choose between Team Inboxes and Personal Inboxes
DISCO includes two types of Inboxes.
Team Inboxes
Team Inboxes can be accessed by everyone on your DISCO team. These are useful for shared workflows where multiple people need visibility over incoming files.
Personal Inboxes
Personal Inboxes are tied to your login email and can only be viewed by you. These are useful when you want incoming files to stay connected to your own work rather than a shared team area.
When new content arrives in either type of Inbox, you will receive an email notification and an in-app notification.
Share an Inbox URL to receive files
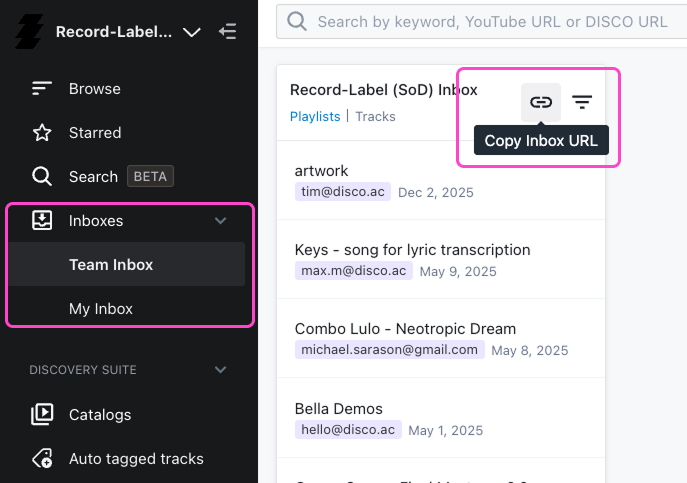
To receive files, open the Inbox where you want content to arrive and copy its Inbox URL. You can then send that link to whoever needs to deliver files to you.
This works well when you want people to send music, media, or other assets straight into your DISCO rather than through email, WeTransfer, Dropbox, or other transfer tools.
Receive files from people who don't use DISCO
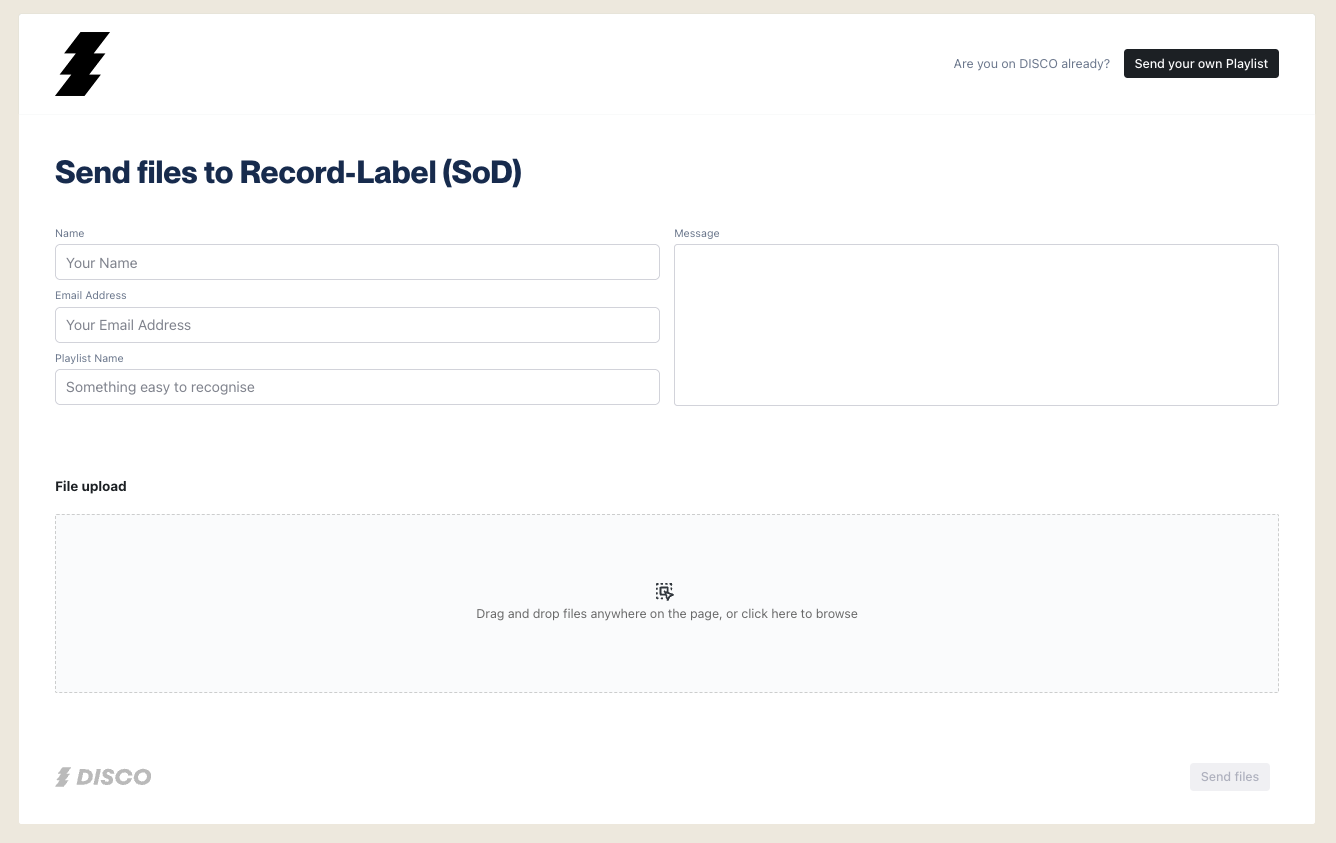
Someone without a DISCO account can still send files through your Inbox URL. They simply drag files into the upload area or select them from their computer, fill out the form, and click Send Files. Each submission creates a new playlist in your Inbox.
Receive files from other DISCO users
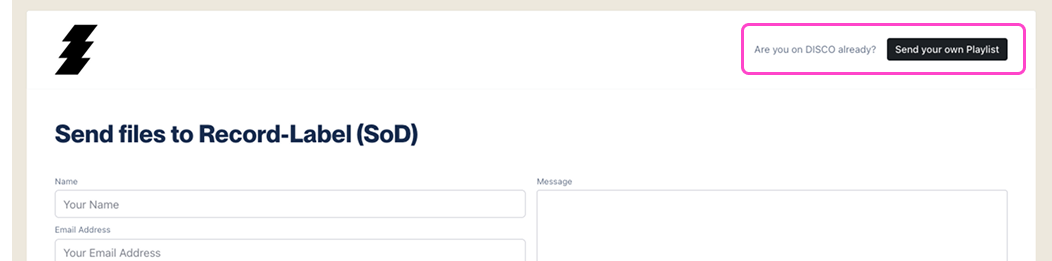
If the sender already uses DISCO, they don't need to upload the files again. Instead they can save a playlist in their own DISCO, copy the Playlist URL, open your Inbox URL, choose Send your own Playlist, paste the Playlist URL, and click Send Files.
This is one of the most powerful parts of the DISCO ecosystem - it lets people move music between accounts without downloading and re-uploading files.
Use Save to DISCO to bring in files without downloading
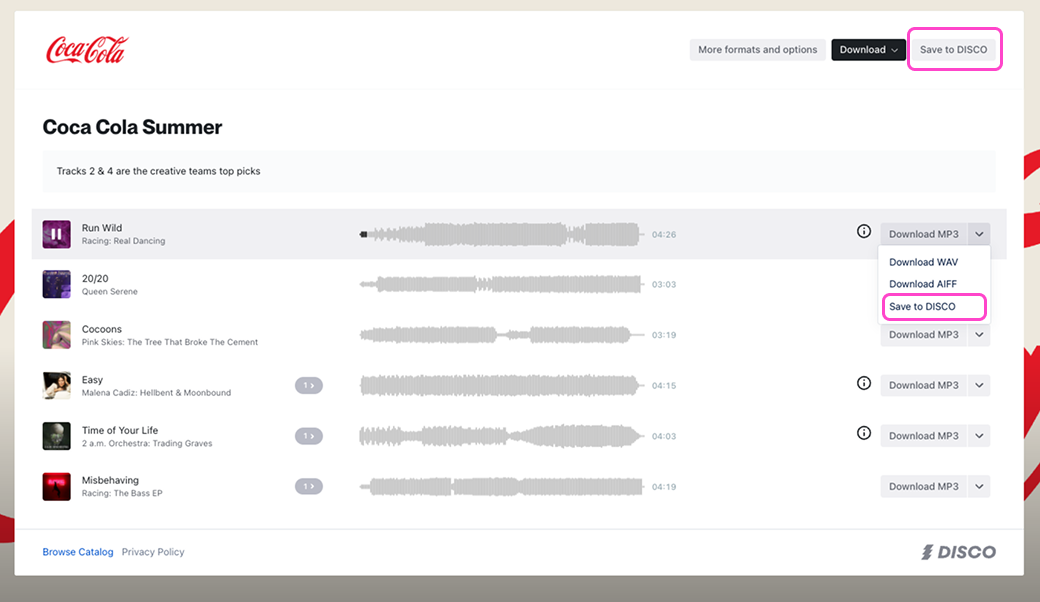
When you receive a DISCO playlist from someone else, you may also see Save to DISCO buttons on their playlist, as long as it is not set to streaming-only.
Using Save to DISCO adds the playlist, tracks, or sections directly into your Personal Inbox. This keeps the whole process inside DISCO - no downloading files to your computer and uploading them again.
Review content before importing it
When playlists first arrive in your Inbox, they are held separately from the rest of your DISCO. At this stage they do not count toward your track quota, they do not appear in general search results, and they remain in the Inbox until you decide what to keep.
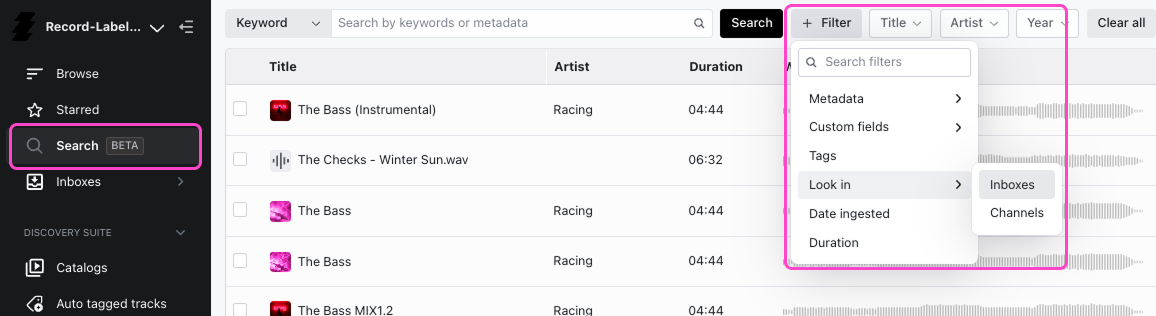
This gives you a chance to review incoming files before bringing them into your main workspace. Inbox content can still be searched if the Inbox is selected as a filter in the search grid.
Bring content from your Inbox into your DISCO
Once you decide something is worth keeping, there are several ways to import it:
- star a playlist
- star a track inside a playlist
- drag a track into the Playlist Creator
- drag a playlist into the Playlist Creator and save it
- drag a track or playlist into a Channel
- select Add to Channel from the track or playlist menu
If you want to move several playlists at once, select multiple items using Shift or Command and add them to a Channel together.
Understand what happens after import
Once content has been imported, it becomes part of your normal workspace. Depending on how you imported it, the playlist will appear in Browse, tracks will appear in the Tracks view, and everything becomes searchable across the rest of your DISCO.
Be careful when removing Inbox content
Removing content from an Inbox means two different things depending on whether it has already been imported.
If the content has not yet been imported, Remove from DISCO will delete it permanently. If the content has already been imported, Remove from Inbox simply removes it from the Inbox view while leaving the imported version in your DISCO.
Before clearing your Inbox, make sure anything you want to keep has already been imported. You can remove multiple playlists at once from the Actions menu - DISCO will warn you if any selected playlists have not yet been imported.
Use Inboxes as part of a larger workflow
Inboxes work best when you treat them as the front door to your DISCO. A manager can ask artists to send works in progress to a Personal Inbox. A music supervisor can ask rights holders to send options to a Team Inbox. A radio programmer can receive weekly releases, review them, and move the best ones into Channels. A label or publisher can centralize new songs from composers before organizing them internally.
In all of these cases the key benefit is the same - incoming files become immediately usable without having to download, unpack, and re-upload them.
Wrap up
Inboxes make it much easier to receive music and media files in DISCO. They simplify the handoff between sender and recipient, reduce the friction of traditional file transfer, and give you a clean way to review incoming content before bringing it into your main library. Once you start using Inboxes as a receiving workflow, DISCO becomes much more than a place to store files - it becomes a connected ecosystem for moving music efficiently between people.