


In this article
You'll learn how to:
- prepare and organize the files you want to feature
- clean up track info and metadata
- build and customize an Artist Page
- share it professionally
Step 1: Upload and organize your files
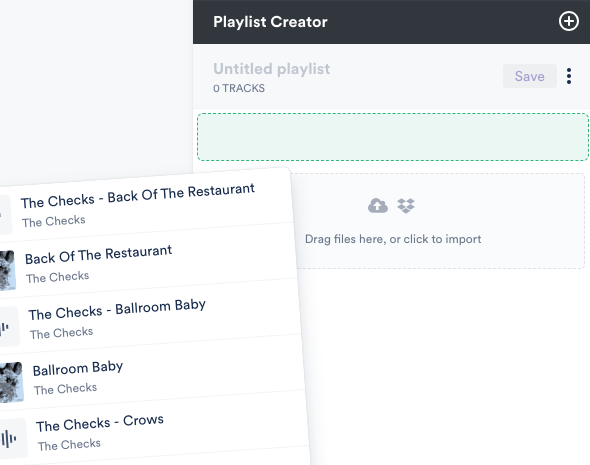
Start by uploading the audio and media files you want to include. You might add your strongest tracks, music videos, press images, and supporting documents.
Once uploaded, organize the key content into a playlist. Choose your strongest material and place it in a clear order. If you are using sections, make sure there is at least one track above the first section so the page opens strongly.
Step 2: Clean up track info and metadata
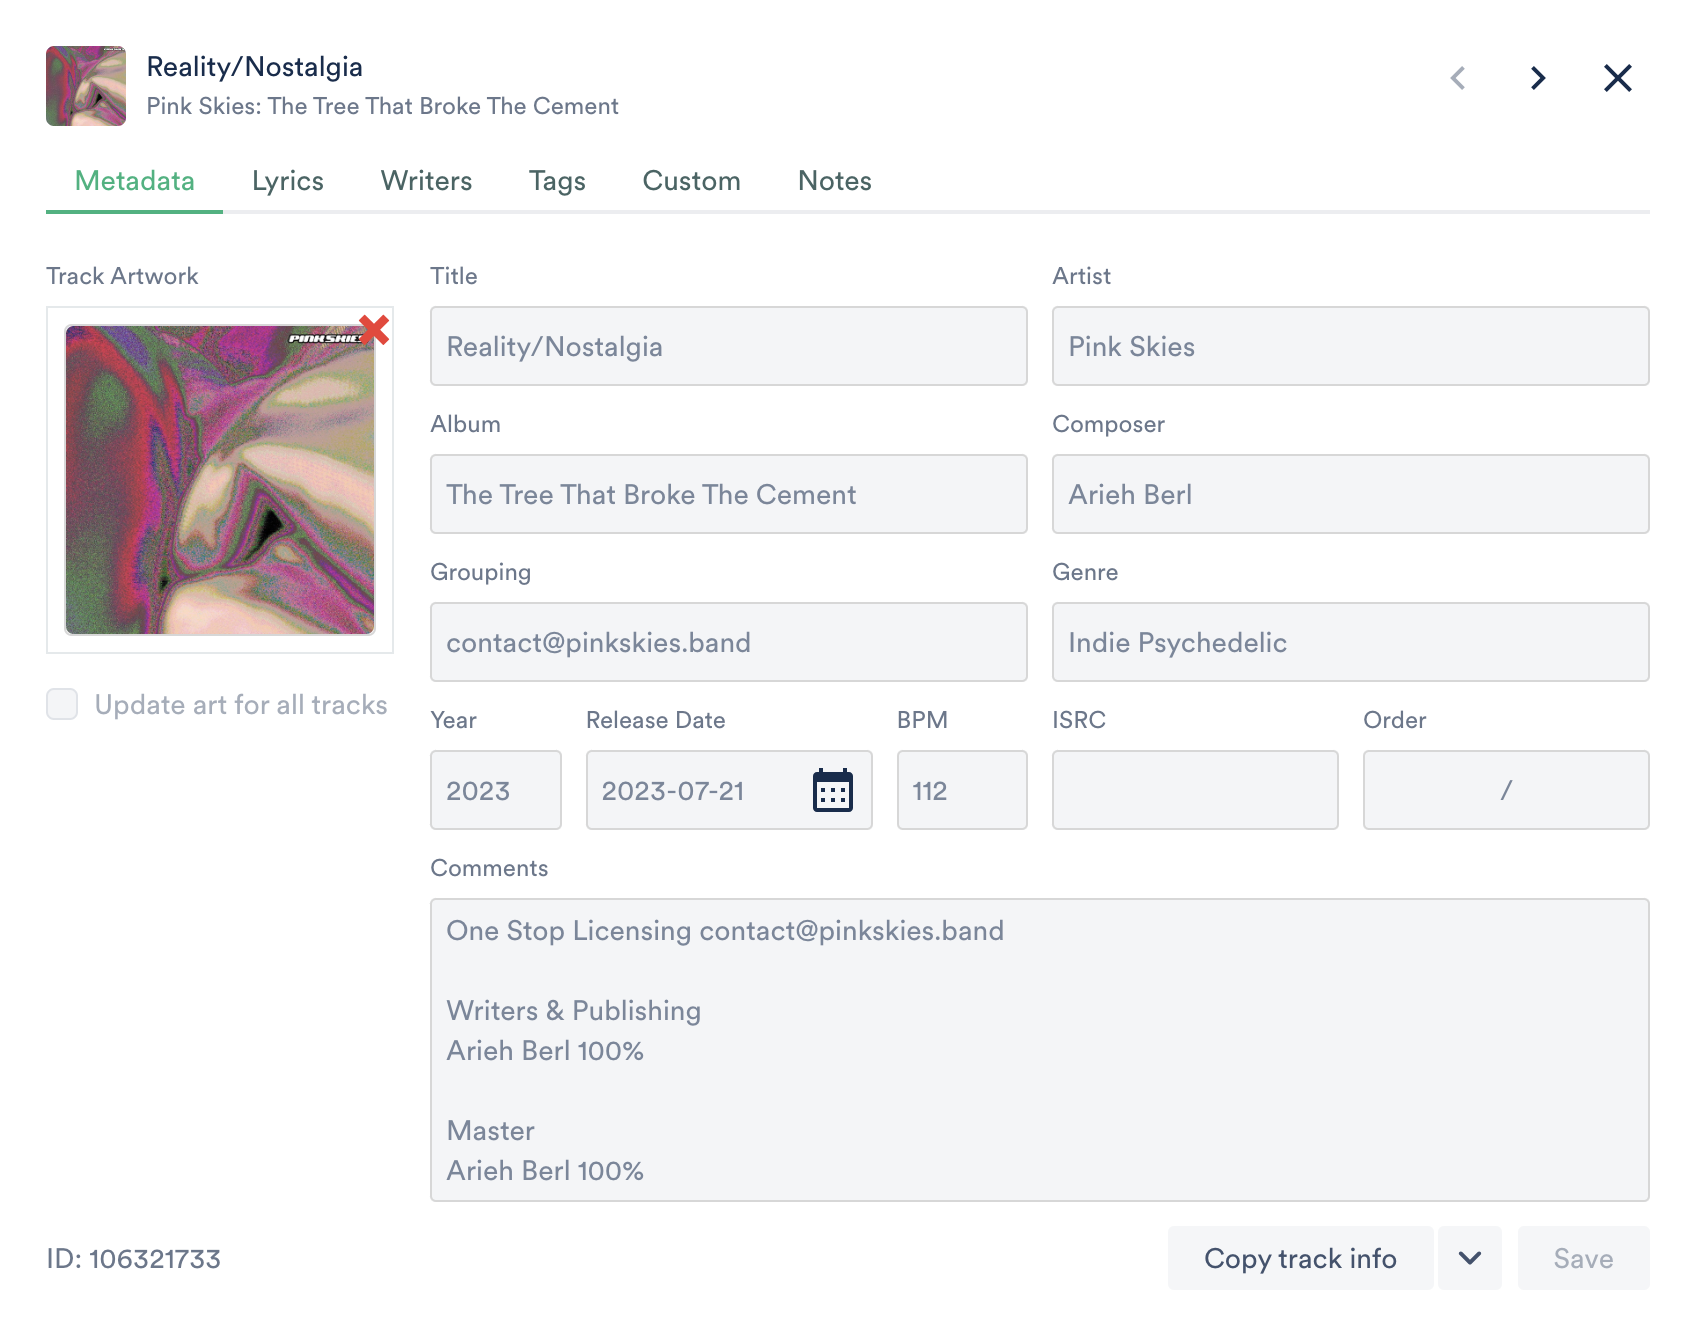
Before building the page, make sure the tracks are clearly labeled and professionally presented. At a minimum check:
- title
- artist
- artwork
- lyrics if relevant
- comments and contact info if needed
Good metadata makes the page more searchable, easier to understand, and more professional for recipients.
Step 3: Open the Presentation tab
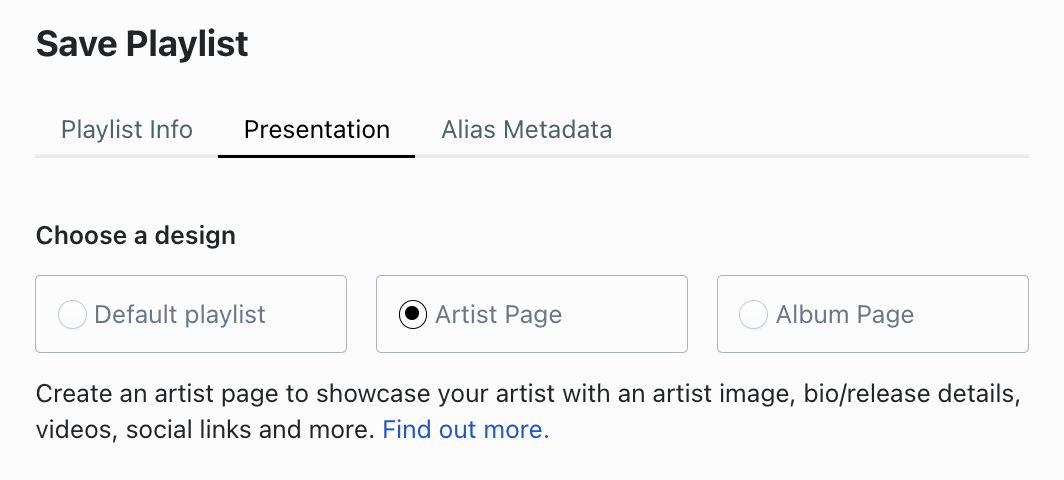
Save the playlist, then open the Presentation tab and choose the Artist Page template.
Step 4: Link an Artist Profile
Select an Artist Profile. Artist Profiles store the artist's image, bio, and social links and are used to quickly populate Artist Page designs. If needed, review and update the profile details before saving the page.
For more on the difference between Artist Profiles and Artist Pages, see the Playlists, Channels and Catalogs article.
Step 5: Customize the page
Add or review the key presentation elements:
- artist image
- bio
- social links
- embedded YouTube, Vimeo, or uploaded video
- lyrics display settings
- theme and colors if needed
Preview the page carefully and make sure all images, text, and links reflect how you want the artist presented.
Step 6: Save and share the page
Once the page is ready, save it and open the Share area. From there you can copy the playlist URL, email the page directly from DISCO, or preview the public version before sending.
You now have a professional, mobile-friendly page that works as a digital business card for the artist.

Wrap up
A DISCO Artist Page brings together music, visuals, and artist information in one polished destination. With strong files, clean metadata, and a well-designed presentation, it becomes a simple and professional way to share an artist with anyone.