In this article, you'll learn:
- When to share a Channel
- How to share a Channel link
- How to share a Channel with another DISCO
- How to navigate and search text on a shared page
The Shared Channels feature (formerly known as Shareable Channels) is available to users on our Pro, and Enterprise plans.
When to Share a Channel
Channels provide a helpful way to share a hierarchy of nested folders. Here are a few examples of when this could be helpful:
- Sync teams sharing a wide selection of playlists with Music Supervisors at the beginning of a new season’s shoot
- Music Supervisors sharing a season’s worth of final tracks and cue sheets with their producers
- Radio Promoters sharing their weekly new releases and priorities
- Managers and A&Rs sharing ongoing mix updates with their artists
Check out some more examples of how Channels are utilized in this article.
How to Share a Channel
There are two options when sharing Channels:
- the Link option
- the invite Other DISCOs option (currently in a limited beta release)
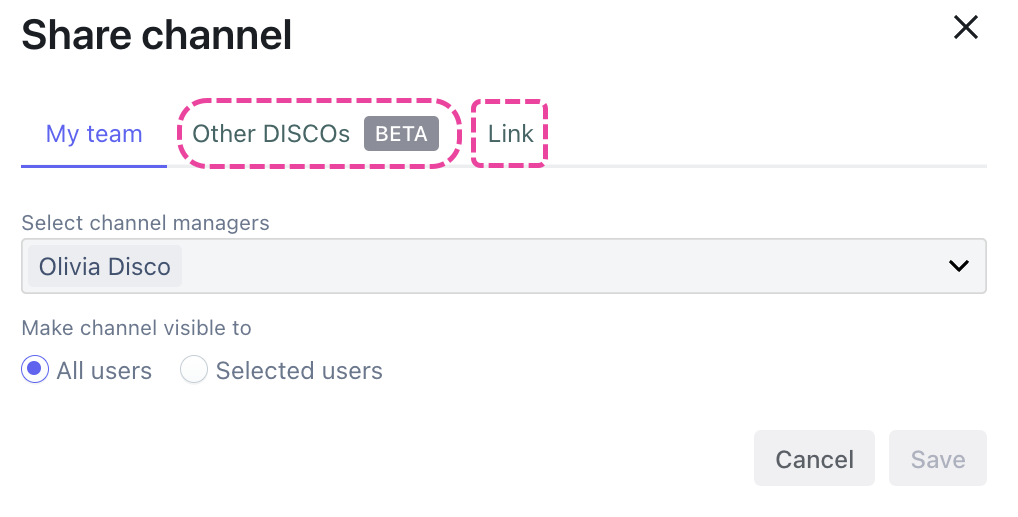
Share a Channel Link
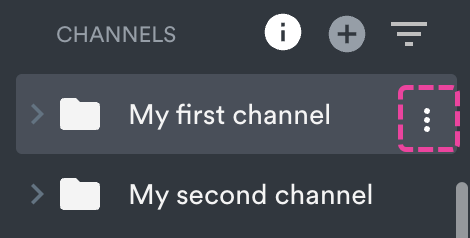
1. In the left sidebar of your DISCO, under Channels, hover over the desired Channel or Folder and open the Channel menu (⋮).
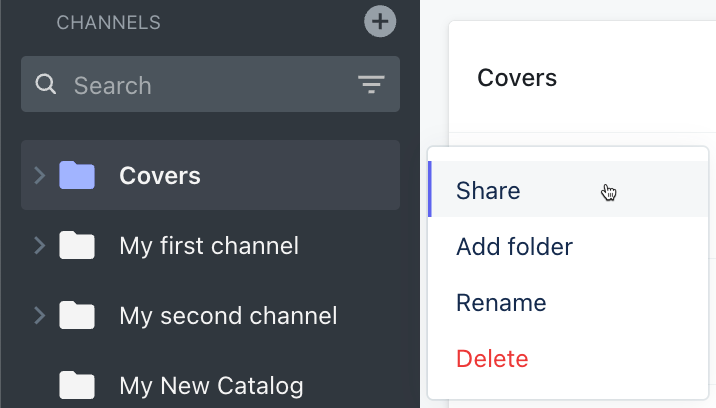
2. Select Share.
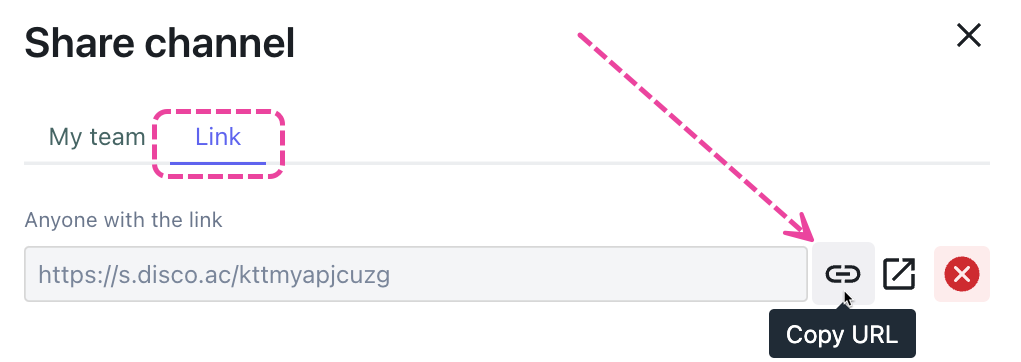
3. In the Share channel menu, from the Link tab, copy the link and share it with your recipient(s).
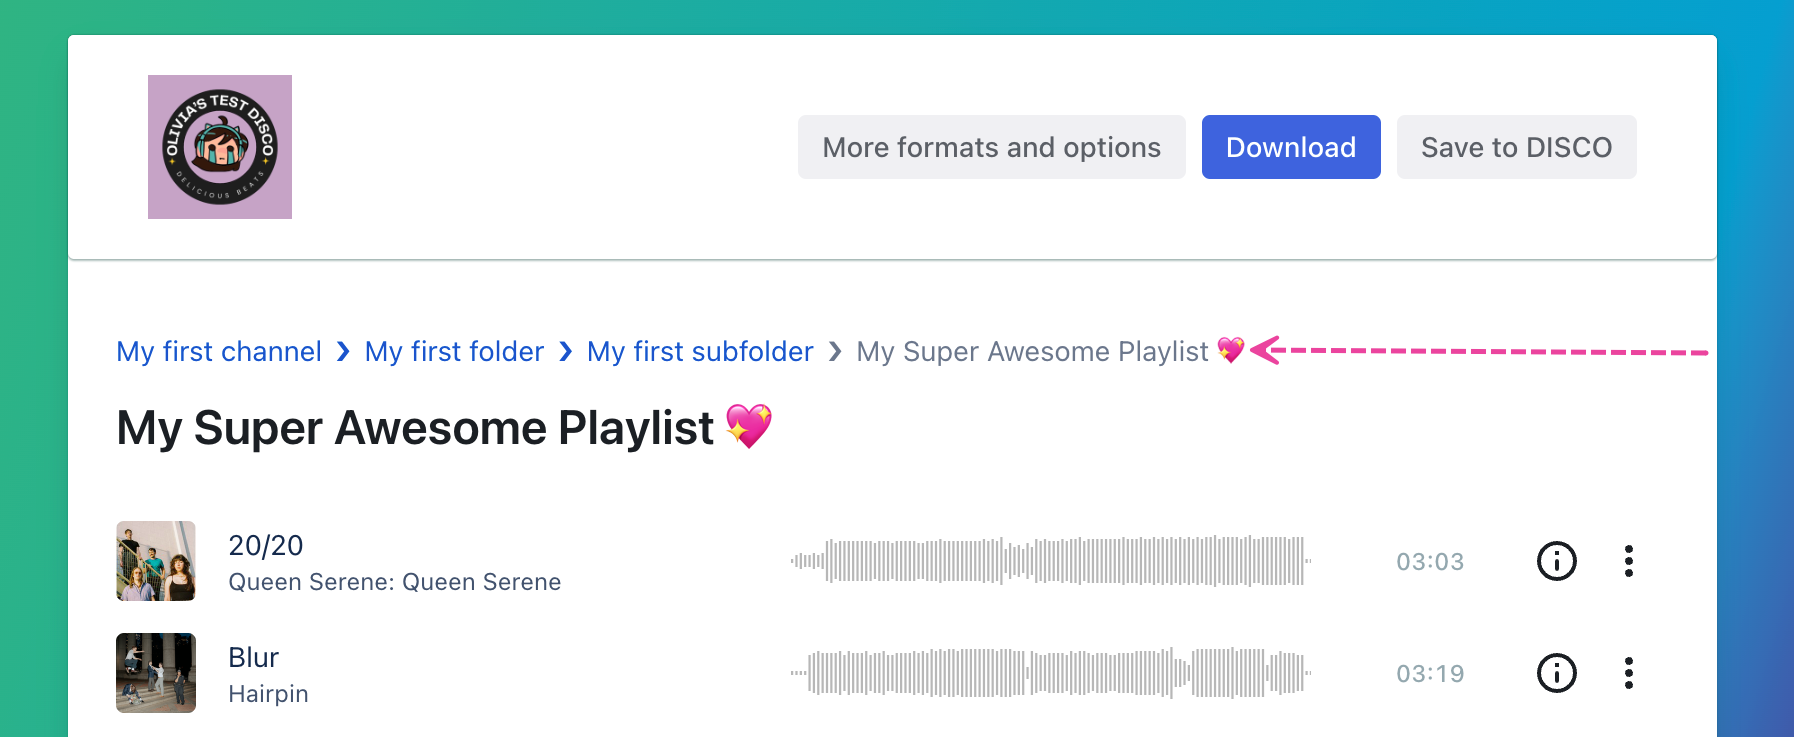
4. From a Shared Channel link, Playlists display and work the same as they do via Playlist share links –– Themes and other settings like Alias Metadata and download Formats will apply. The main difference is they'll have the breadcrumb trail leading back to their parent Folder(s) or Channel:
Invite Other DISCOs to your Channel
📎 Note: This option is currently in a limited beta release and select users across all plans may now have access to it. If you don't currently have access, you can gain access by accepting an invite to a Channel from another DISCO. Upon full release, it will only be available to users on our Artist, Pro, and Enterprise plans. So if you're on the Plus plan and currently have access to this feature, please note that upon full release you'll no longer have access unless you upgrade your plan.
The below only applies to Channels:
- In the left sidebar of your DISCO, under Channels, hover over the desired Channel or Folder and open the Channel menu (⋮).

- Select Share.

- In the Share channel menu, from the Other DISCOs tab, type in a DISCO URL to invite Partner DISCOs (referred to as 'Partners') to the Channel:
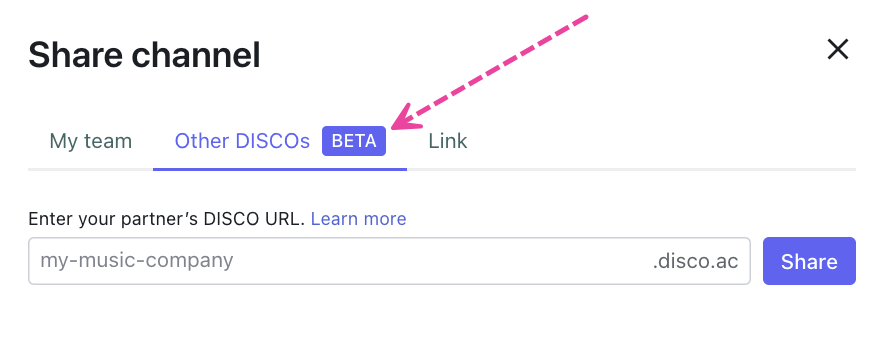
- Click the Share button.
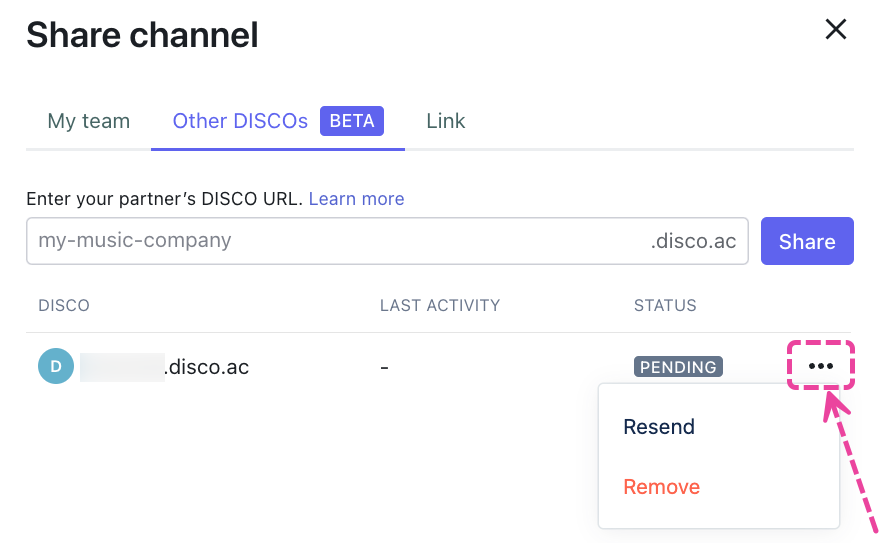
- You'll see a list of the Partners you've shared with and their status (meaning whether or not they've accepted the invite to the Channel):

Revoke access to a Shared Channel
- In the left sidebar of your DISCO, under Channels, hover over the desired Channel or Folder and open the Channel menu (⋮).

- Select Share.

- In the Share channel menu, from the Other DISCOs tab, open the ellipses (...) menu to the right of the partner DISCO and select Remove:
Receiving a Shared Channel
Admin(s) of the Partner DISCO (the DISCO receiving the Shared Channel) will receive an in-app bell notification and can click Add to my DISCO. They'll also receive an email notification.
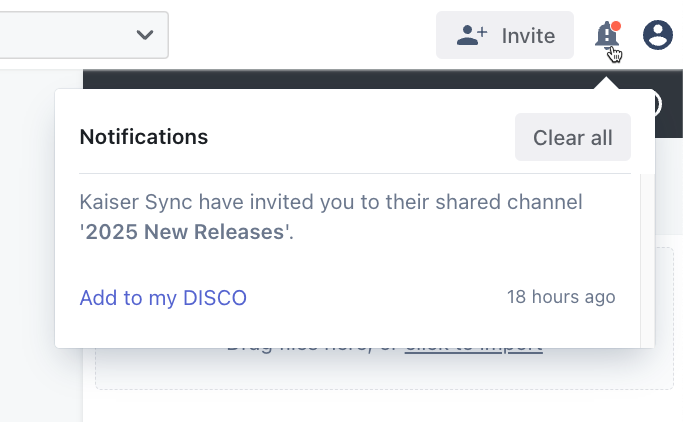
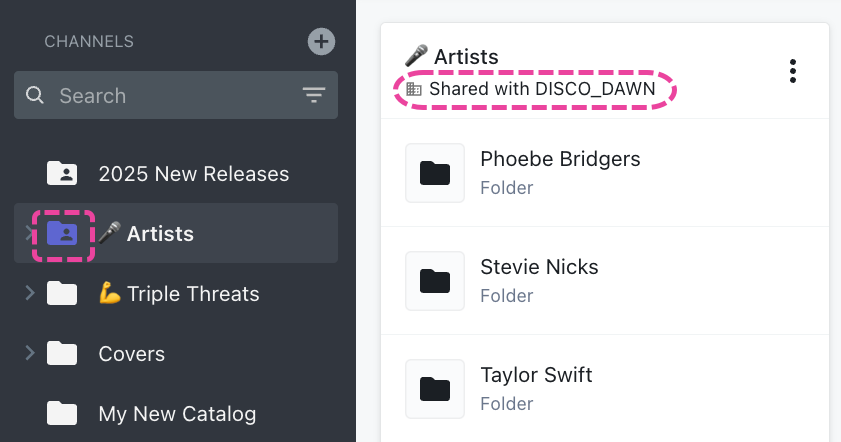
Once added, the Channel will appear on the Partner's left sidebar with a shared folder icon. They'll also be able to see the Owner (which DISCO shared the Channel) when they click inside of it.

The Channel in the Owner's DISCO will also have a shared folder icon, and they'll be able to see the Partners they shared the Channel with:
The Owner can see who accessed the Channel in their Other DISCOs tab:

Leaving a Shared Channel
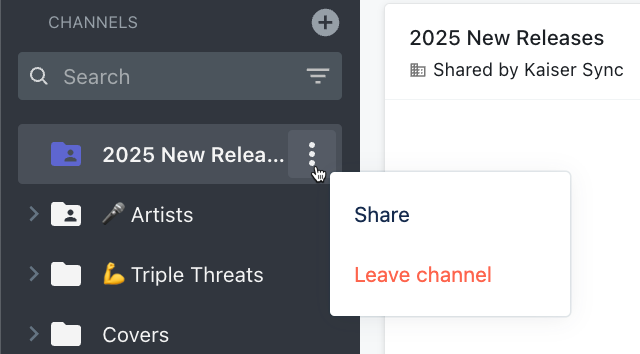
Admins of the Partner DISCO can leave the Channel by opening the Channel menu (⋮) and selecting Leave channel. This means the entire Partner DISCO will leave.
Disabling Channel share links
The below also applies to Folders and Subfolders:
1. In the left sidebar of your DISCO, under Channels, hover over the desired Channel or Folder and open the Channel menu (⋮).

2. Select Share.

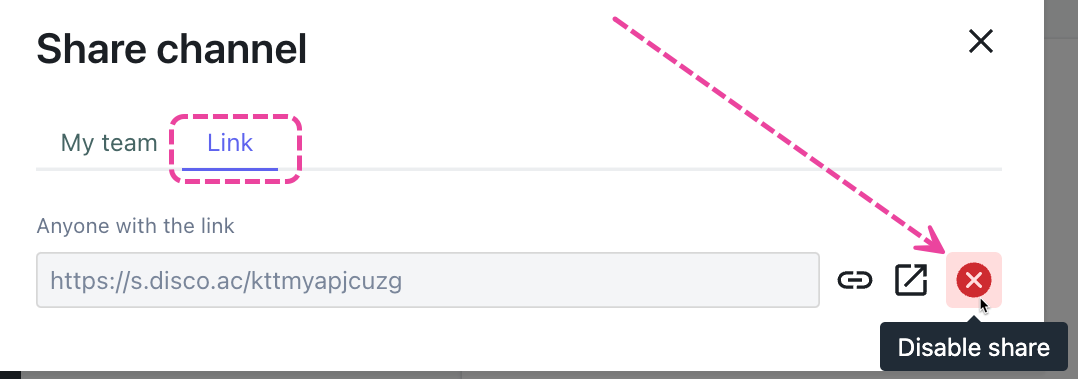
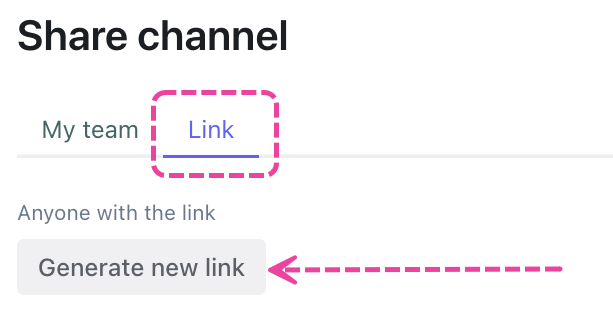
3. In the Share channel menu, from the Link tab, click the X to permanently disable the share link. This means that anyone with it will no longer be able to access it.
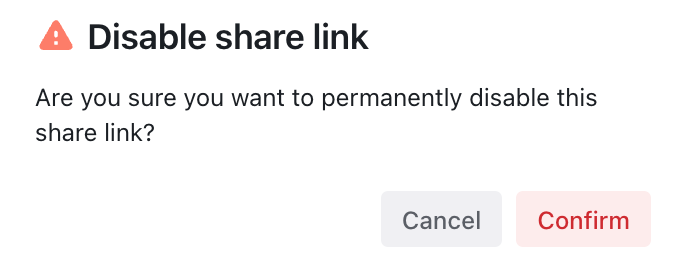
4. If you're sure, click the Confirm button.
5. After confirming, you'll have an option to Generate new link.
Downloading shared Channels
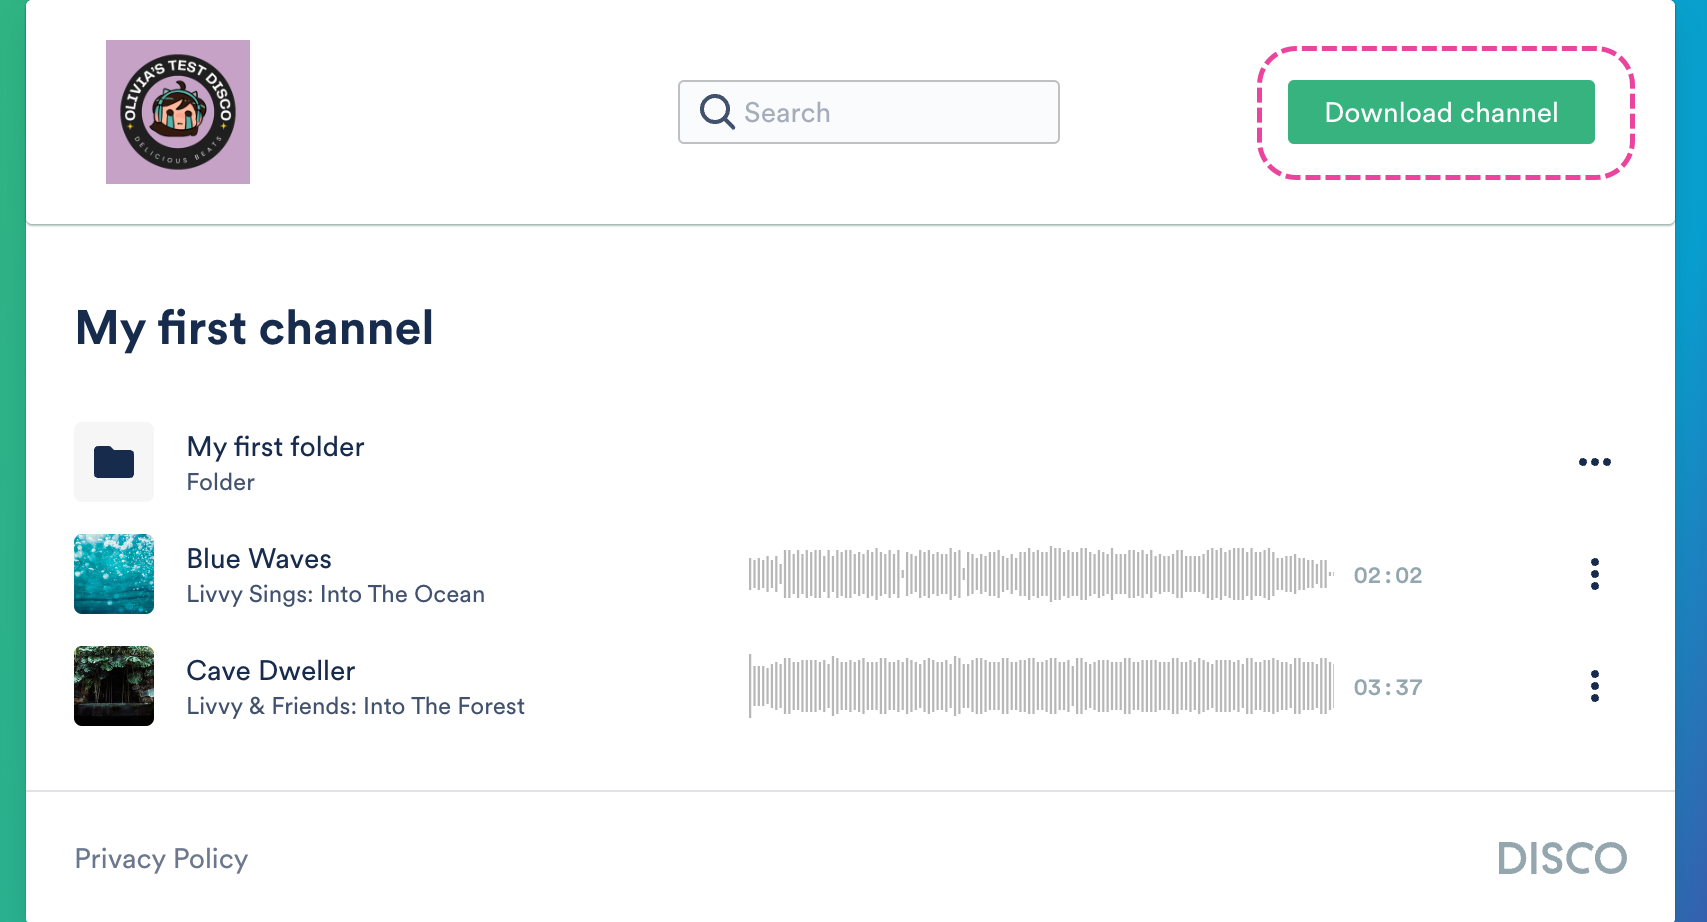
When your recipients open the link to the shared Channel, Folder, or Subfolder, there will be a Download channel or Download folder button in the top-right corner (only if the whole Channel or Folder is under 5GB).
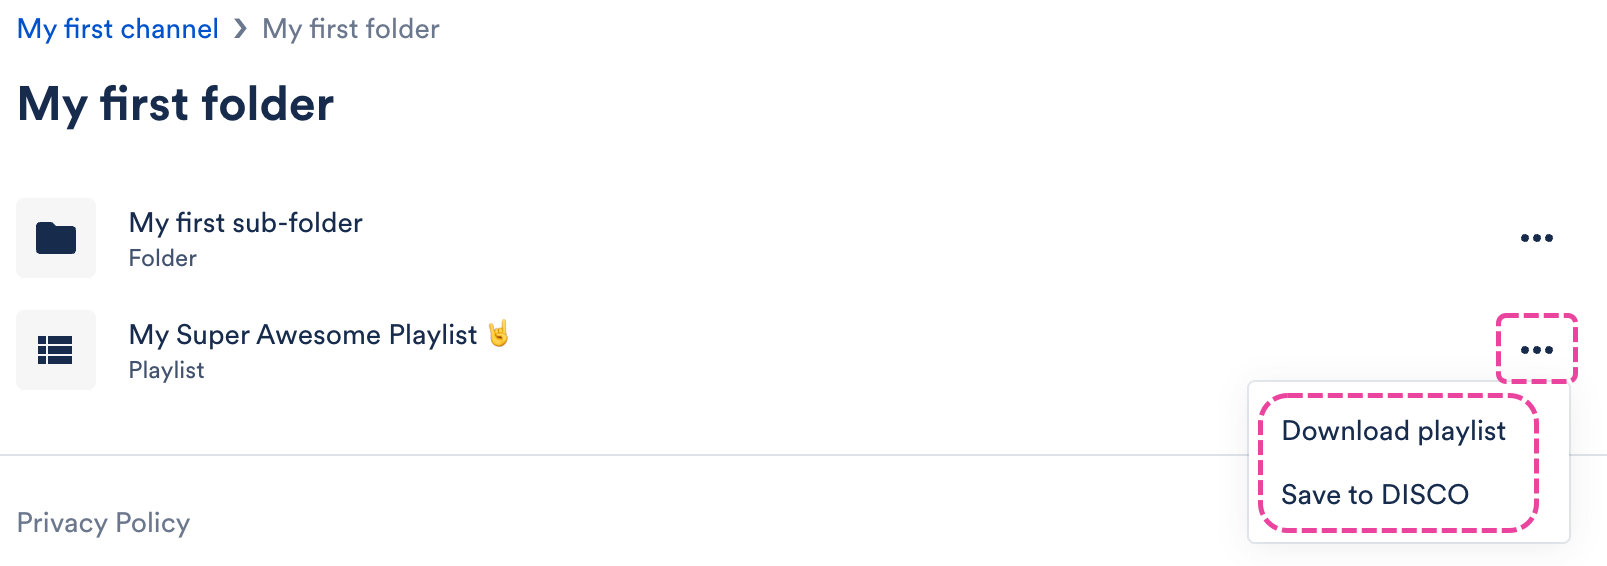
Folders within Channels will have a Download option in the menu (…) to the right:

Playlists and Tracks will also have a Download option on the menu (…) to the right, just like a regular Playlist or Track share page:

Playlists will also have a Save to DISCO option in this menu (Tracks will not).
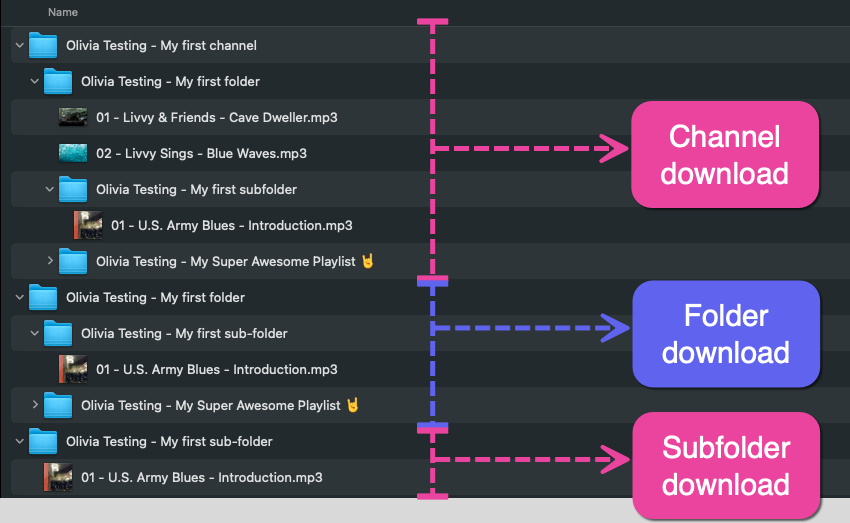
When you download the Channel, all of its contents will be included (Folders, Subfolders, Tracks, and Playlists). When you download a Folder within a Channel, everything within that specific Folder will be included (Subfolders, Tracks, and Playlists). When you download a Sub-folder, everything within that specific Subfolder will be downloaded (Tracks and Playlists):
Navigating a Channel Share Page
This is an example of a Catalog Channel shared by a record label.
Level 1: The "Catalog Artists" Channel share URL view:
- Folders within the Channel are visible.
- The "Download Channel" option is available if the total content contained in the channel is less than 5Gb.
Level 2: Inside "The Checks" folder:
- The albums/playlists are accessible.
- The folder path is displayed at the top to navigate back to previous folders.
- The menus to the right have download and Save To DISCO options.
Level 3: Inside the "Deadly Summer Sway" album:
- The folder path is still available to navigate back.
Searching Text on Channel Share Pages
Channels and folders feature a text search bar that enables you to easily locate specific text within the content of that particular page.
The search does not show any results from inside the folders, playlists, or metadata.


