


In this article
You'll learn how to:
- prepare your content before building
- navigate the Catalog CMS
- add playlists, albums, tracks, and artists
- design and brand the Catalog
- set up access controls and opt in to music supervisor discovery
- avoid common mistakes that undermine a Catalog's impact
Before you build: get the foundations right
A Catalog is only as good as what goes into it. Before you open the CMS, it is worth investing time in the content and metadata that will make or break the experience for anyone who searches it.
The single most important thing you can do is make sure your tracks are well tagged and have clean metadata. A supervisor searching your Catalog will use tags, keywords, lyrics, and artist names to find what they need. If that information is missing or inconsistent, strong tracks stay buried.
Work through this checklist before you start building:
- upload files and save playlists, including any you want to present as albums
- auto-tag all tracks you want in the Catalog by dragging tracks or playlists onto Auto-tagged tracks in the sidebar - this is what makes them searchable by mood, genre, instrumentation, and more
- clean up track metadata - title, artist, artwork, and comments with your contact info and rights information
- transcribe lyrics for vocal tracks
- curate a few themed playlists based on genre, style, mood, or vibe
- create a Channel to keep all Catalog assets organized in one place
- gather logos and artist photos for the design
Take the time here. A Catalog published with messy metadata and no artwork makes a poor first impression - and supervisors are always comparing you to every other Catalog in the ecosystem.

Create a new Catalog
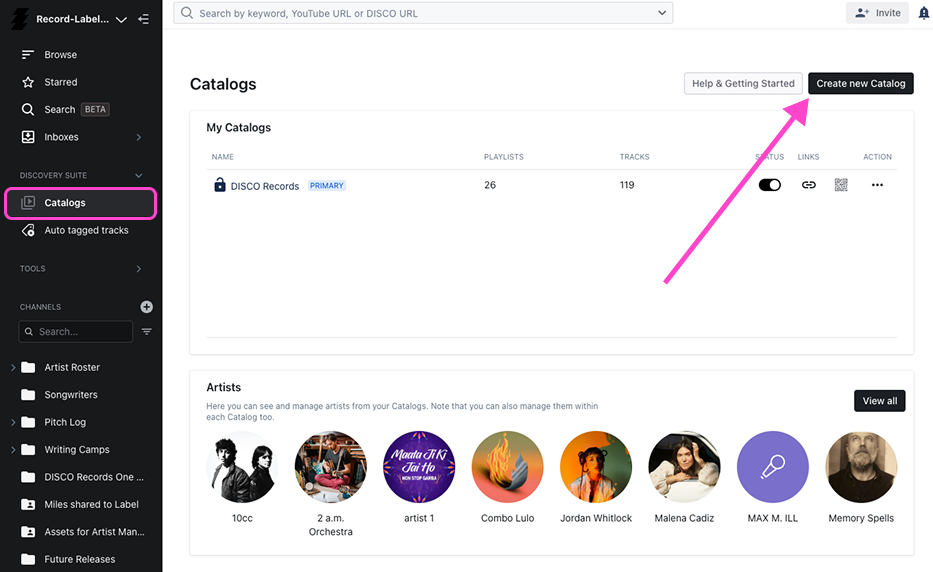
From your DISCO sidebar, navigate to Catalogs and create a new one. Give it a name that is clear and memorable - something that communicates who you are and what kind of music you represent.
Navigate the Catalog CMS
Each Catalog has its own Content Management System with several sections including:
- Content - add and curate channels, playlists, albums, tracks, and artists
- Design - branding, colors, logos, hero images, and your contact page
- Clients and promotion - control who can view, download, and discover your Catalog plus their access analytics
- Settings & Notifications - licensing forms, format options, nesting controls, and custom domain
Step 1: Add your content
Playlists and albums
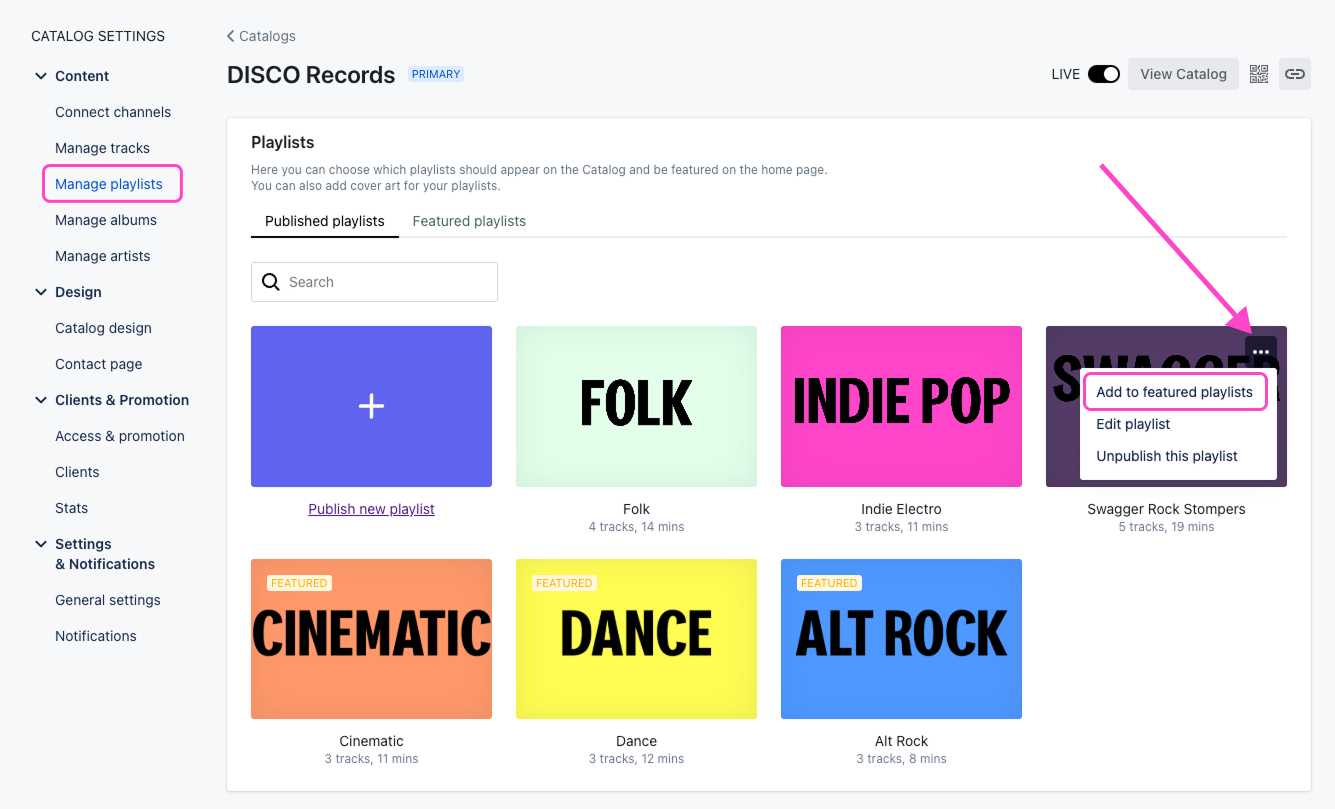
Open the Manage playlists section and click the + icon to search for and add playlists from your DISCO. Once added, you can edit the artwork for each playlist and choose which ones to feature on the homepage.
Albums work the same way - playlists saved as albums (see toggle below) appear with square artwork and display release dates. Drag to rearrange the order they appear on the homepage.

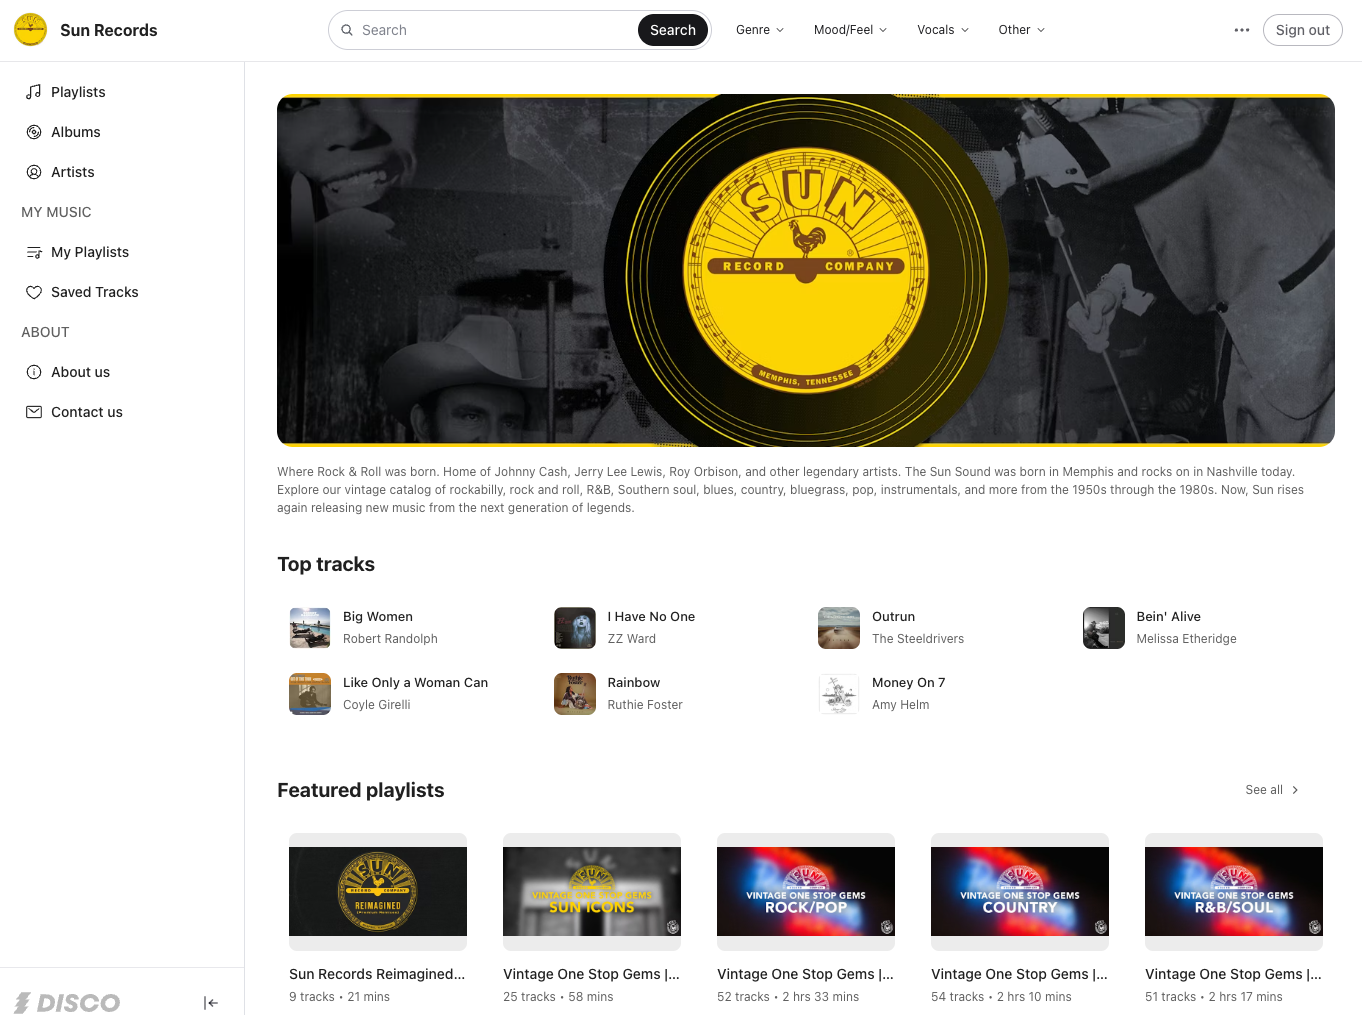
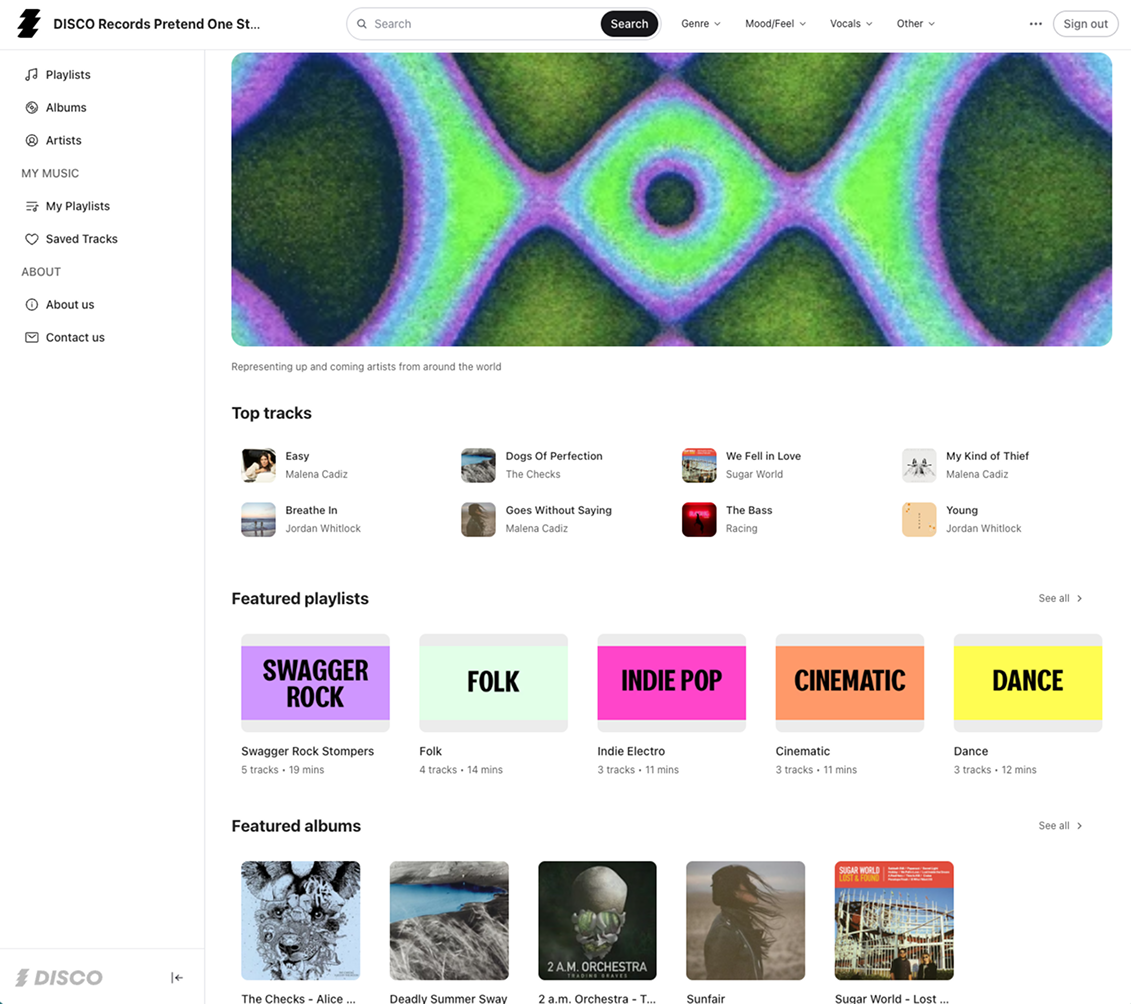
A Catalog homepage without featured content looks empty and uninviting. Choose a handful of your strongest playlists and albums to anchor the experience.
Tracks and channels
In the Connect channels section, select Channels or subfolders to publish all the tracks inside them. This is the most efficient way to keep your Catalog updated - as you add tracks to those Channels in your DISCO, they automatically become available in the Catalog.

The Manage tracks section shows all tracks in your Catalog. Hover over the Info icon next to any track to see how it was added - via channel, playlist, or album.
Check the box to the far right of a track to feature it on the homepage, and use the Featured tracks tab to rearrange their display order.

Artists
Artist Profiles are generated automatically from the artist metadata field on your tracks - every unique artist name creates a profile, and all tracks with that name are linked to it. Artist Profiles only appear in the Catalog once tracks have been added.
This makes consistent metadata critical. "2 a.m. Orchestra" and "2 A.M. Orchestra" create two separate profiles and split the tracks between them. Clean up any inconsistencies in your artist field before building.
In the Manage artists section, hover over a profile and click the pen icon to edit it - add a photo, bio, and social links. These details make artist pages feel complete and professional. Check the Featured box to showcase specific artists on the homepage.

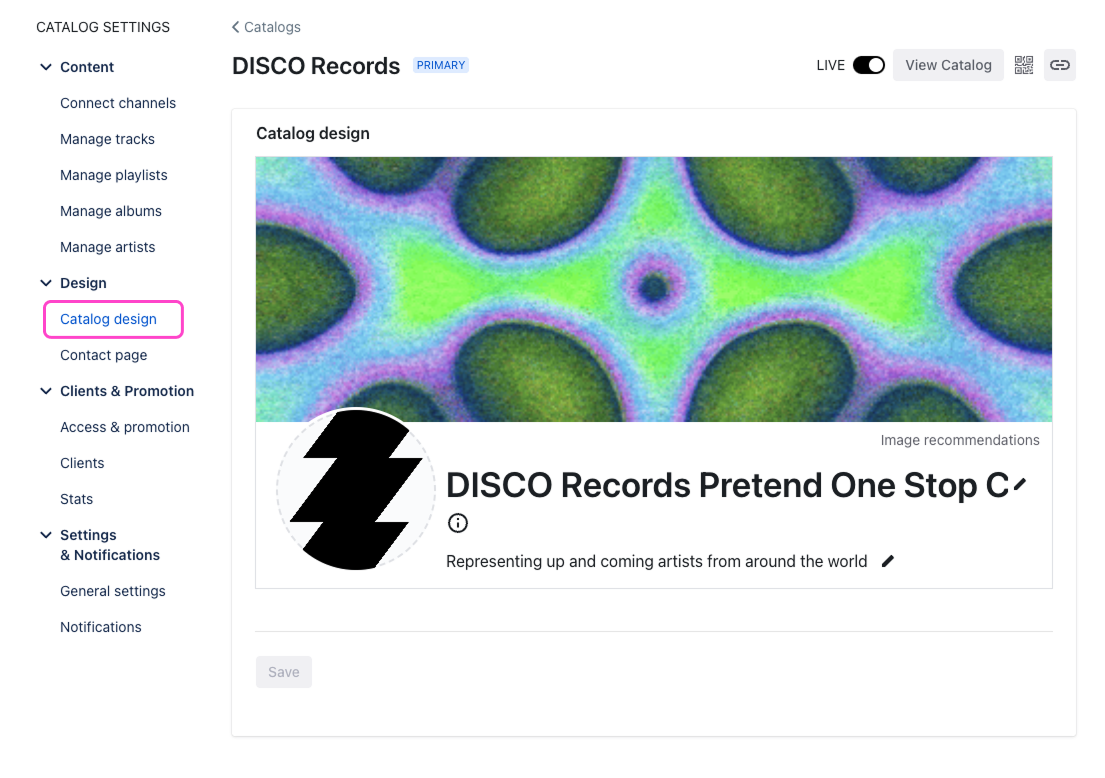
Step 2: Design the Catalog
Open the Catalog design section and add your logo, hero image, and a short description of what your Catalog contains. A Catalog without basic branding feels unfinished - match the visual identity to your company or label and make it feel intentional.
Fill in the Contact page carefully. The About field should paint a helpful picture of your business. Your contact details are critical - when a supervisor finds something they want to license, this is how they reach you.
Step 3: Set up access and go live
When you are ready, activate the Live toggle in the top right corner. Some access settings cannot be edited until the Catalog is live.
Music supervisor discovery
Open the Access and promotion section. This is where a Catalog becomes something bigger than a client link.
DISCO's Discover Music area is accessible to verified music supervisors inside their own DISCO accounts. You can choose how your Catalog appears there:
- Private (default) - your Catalog is not visible to music supervisors
- Limited access - supervisors can find, search, and stream your Catalog in the Discover Music area, but must request approval to download or save tracks
- Easy access - supervisors have pre-approved download and Save to DISCO permissions, and your tracks are opted in to MultiDISCO Search
Easy access is the most powerful option. When a supervisor searches inside their DISCO, your tracks appear alongside results from their own library - around the clock, across the whole supervisor community, without any additional effort from you.
When you select Easy access or Limited access, a description field appears. Fill it in carefully - supervisors can search Catalogs by description inside the Discover Music area, so a specific, accurate description makes your Catalog easier to find.
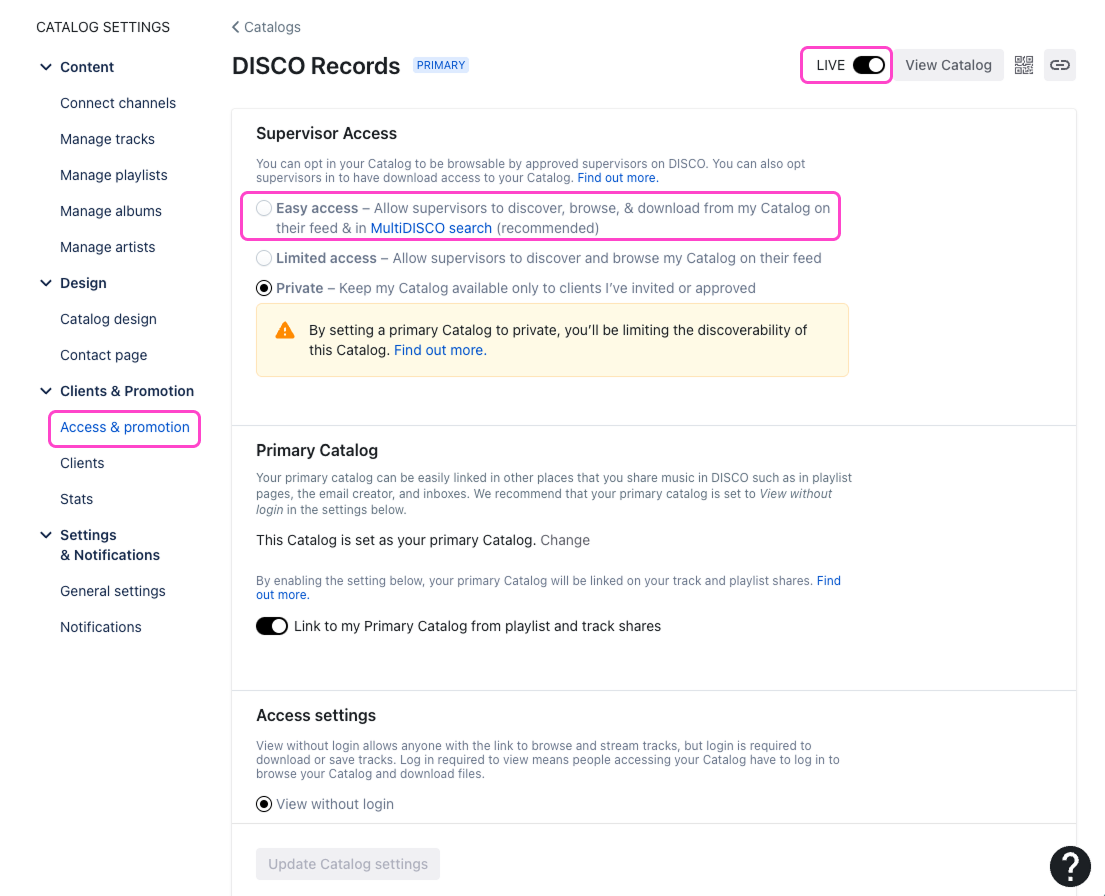
Client access
Choose between two options:
- View without login - anyone with the Catalog URL can browse and stream. Only invited clients with approved access can download
- Login required to view - only logged-in users with access can see the Catalog. Use this for private client Catalogs - but do not use this if Limited or Easy access are selected above
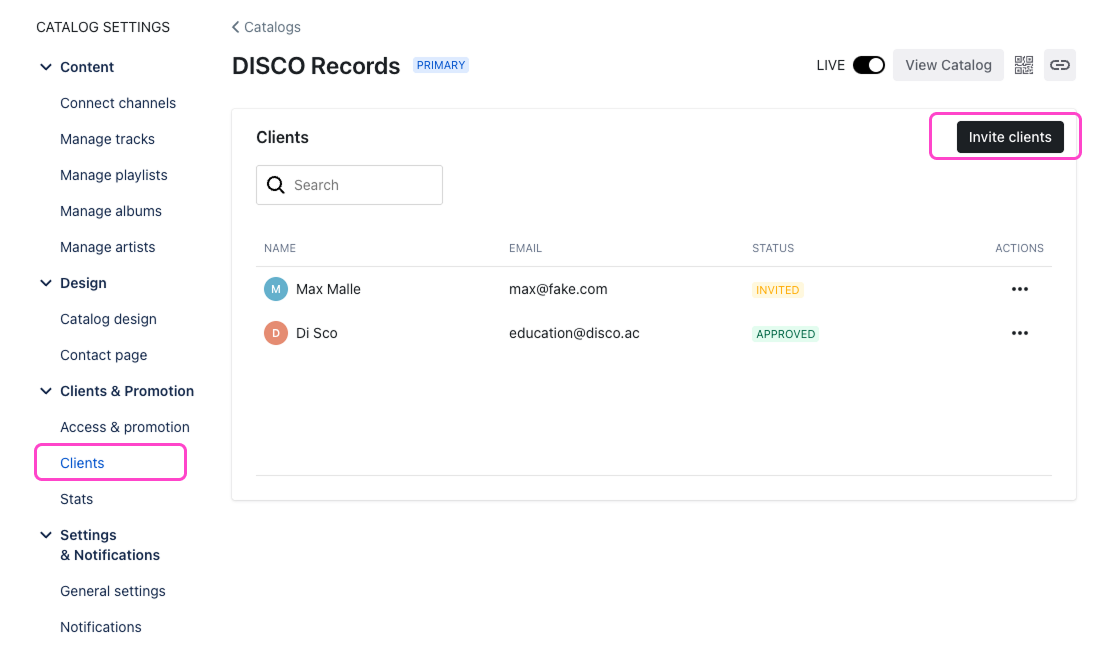
Step 4: Invite clients and promote
Once live, share the Catalog URL directly with clients, add it to your email signature, link to it from your website, and send direct invites from the Clients section to pre-authorize access for close contacts. Do not wait for people to find it.
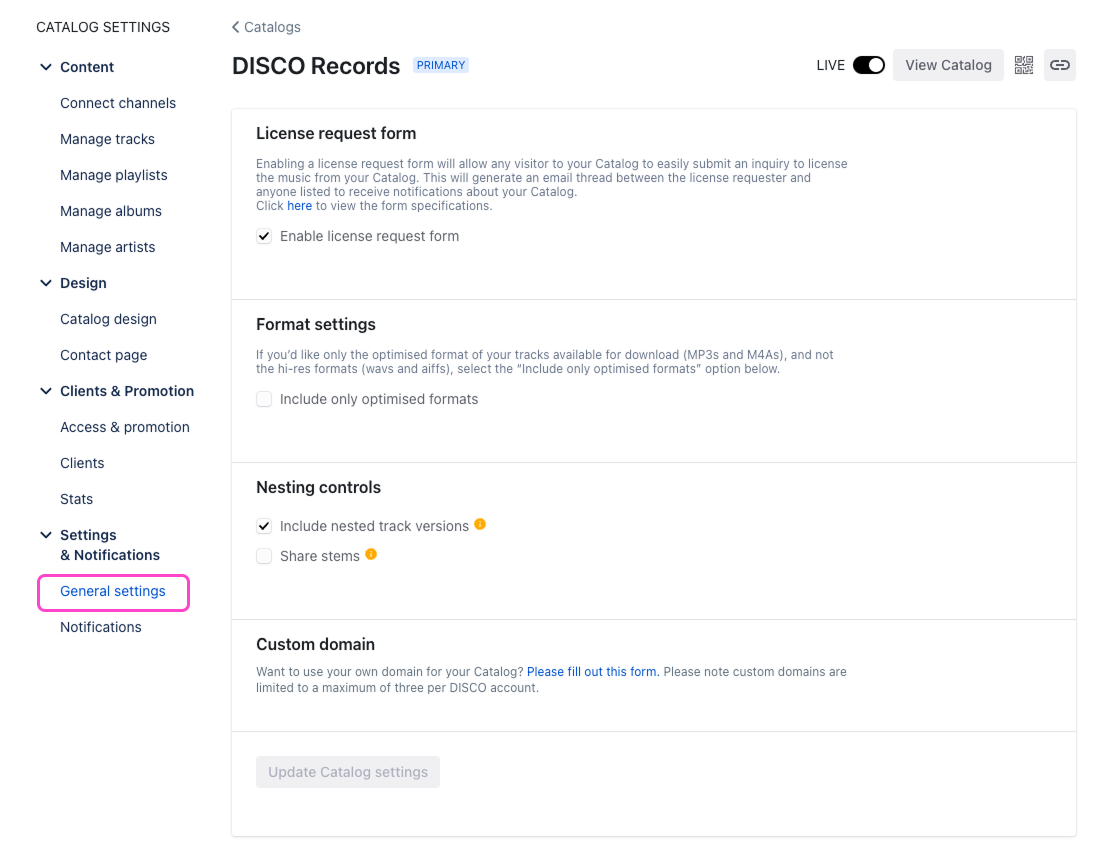
Step 5: Review general settings
Before wrapping up, open General settings and check a couple of things.
Format settings controls whether high-resolution WAV and AIFF files are available for download, or MP3s only. The rule of thumb: make it as easy as possible for music supervisors. Give them access to full-resolution files unless there is a specific reason not to.
Nesting controls determine whether nested versions - instrumentals, alternate mixes, stems - are available in the Catalog. Again, more access is usually better. If you have generated instant instrumentals or have stems ready, make them available.
Common mistakes to avoid
- publishing without artwork, a logo, or a hero image
- using a vague or generic name - "One-stop sync music" tells a supervisor nothing useful
- adding tracks with inconsistent or incomplete metadata
- duplicate artist profiles caused by inconsistent artist name fields
- opting in to music supervisor discovery before the Catalog looks polished
- not filling in the Catalog description before opting in to the Discover Music area
A half-finished Catalog reflects directly on your professionalism. Supervisors who visit and find empty pages or messy metadata are unlikely to come back.
Wrap up
A well-built DISCO Catalog is one of the most powerful things you can do for the long-term discoverability of your music. It takes time to set up properly - but once it is live, tagged, and opted in to music supervisor discovery, your catalog is working for you around the clock, in front of buyers who are actively searching. Get the foundations right, present it well, and then get it in front of people.